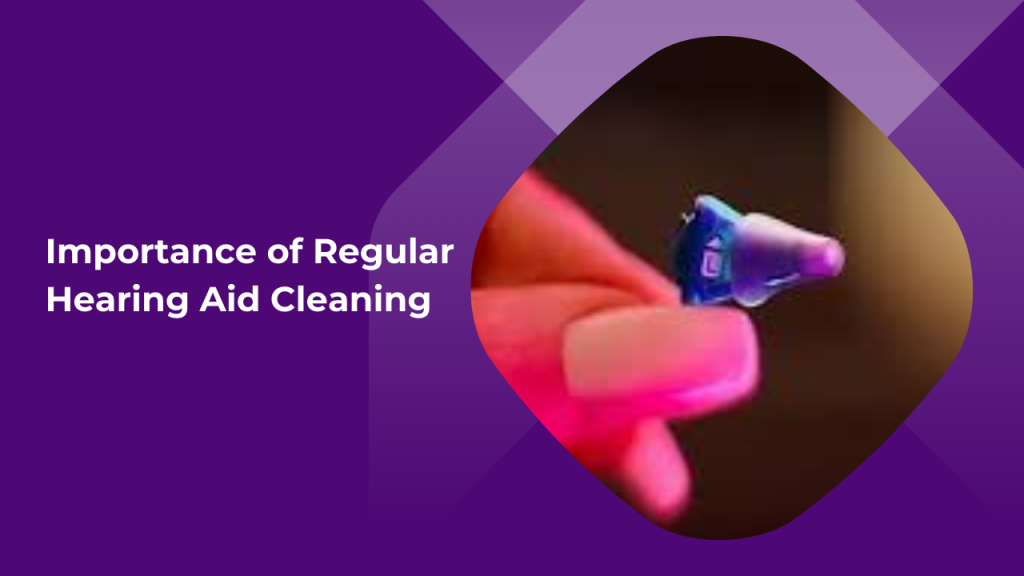
Your hearing aids are more than just devices; they’re lifelines to the world of sound. Regular cleaning isn’t just about aesthetics; it’s about ensuring these vital tools function at their best. Dust, earwax, and moisture are relentless enemies that can creep into the tiny crevices of your hearing aids, slowly degrading their performance. Over time, without proper maintenance, you might find yourself struggling to catch those subtle sounds that once came through so clearly. By committing to a regular cleaning routine, you’re not only preserving the longevity of your hearing aids but also maintaining the quality of your auditory experience.
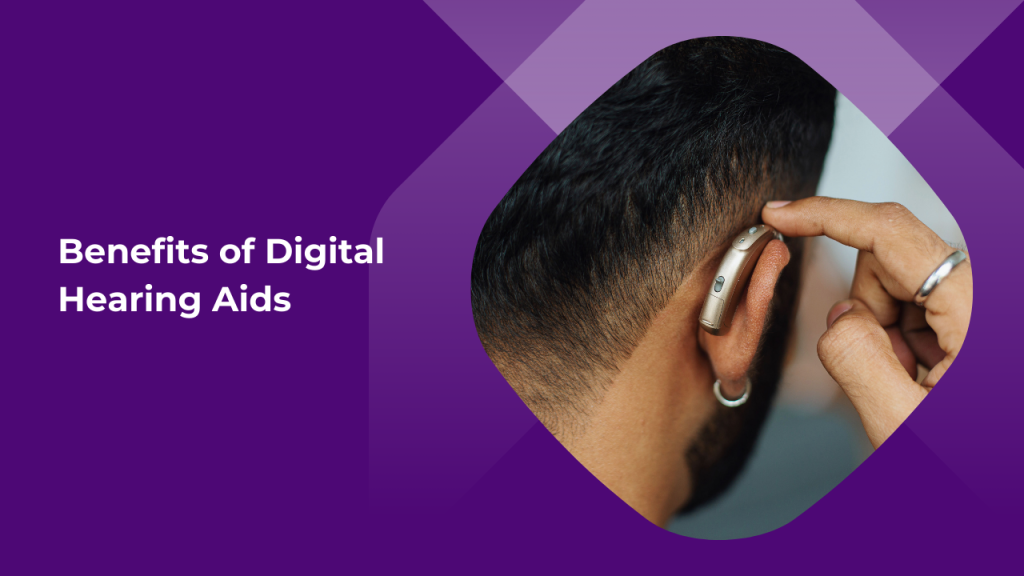
Why Keeping Your Hearing Aids Clean Matters
A pristine hearing aid ensures that sound is transmitted clearly and accurately. When dirt and earwax accumulate, they act like barriers, muffling sounds and making it difficult to hear. Beyond that, neglecting cleanliness can lead to more severe issues like infections. The ear is a sensitive environment, and introducing a contaminated hearing aid can exacerbate irritation or lead to conditions like otitis externa. Furthermore, a clean device means less strain on your hearing aids, reducing the likelihood of costly repairs or replacements down the line. Keeping your hearing aids clean isn’t just about hygiene; it’s about protecting your investment and your health.
Common Problems Caused by Dirty Hearing Aids
When hearing aids aren’t cleaned regularly, several issues can arise. First and foremost, sound quality deteriorates. You might notice a decline in volume or clarity, making conversations more challenging and frustrating. Dirty hearing aids can also become a breeding ground for bacteria, leading to ear infections and discomfort. Moisture and wax buildup can clog the microphone and receiver, leading to feedback issues, whistling sounds, or complete device failure. These problems can be inconvenient at best and damaging to your hearing health at worst, underscoring the need for consistent maintenance.
Signs Your Hearing Aids Need Cleaning
Recognizing Reduced Sound Quality
If your hearing aids are suddenly not as sharp as they used to be, it’s a clear sign they need attention. You might find yourself straining to hear conversations, or the sound may seem distorted or faint. These changes are often due to wax or debris clogging the tiny components inside the device. A quick inspection and cleaning can often restore them to their full functionality.
Physical Indicators: Wax Buildup and Moisture
Visible signs are just as telling as auditory ones. If you notice wax buildup on the earpiece or moisture inside the tubing, it’s time to clean your hearing aids. These substances can block sound pathways and even lead to more significant damage if not addressed promptly. Regularly inspecting your devices for these signs can help you catch issues before they affect performance.
Essential Tools You’ll Need for Cleaning
Must-Have Cleaning Kits for Hearing Aids
Investing in a proper cleaning kit designed specifically for hearing aids is essential. These kits typically include a soft brush, a wax pick, a drying container, and cleaning wipes. Each tool serves a specific purpose: the brush sweeps away debris, the pick removes stubborn wax, and the wipes sanitize the device’s surface. Having these tools on hand ensures you can give your hearing aids the thorough cleaning they need.
DIY Alternatives: Household Items That Work
In a pinch, everyday household items can substitute for specialized tools. A soft, clean toothbrush can replace a hearing aid brush, and a cotton swab can stand in for a wax pick. For drying, silica gel packets—often found in shoe boxes—can help absorb moisture. While these alternatives can work in the short term, it’s best to use tools designed for hearing aids to avoid any accidental damage.
Step-by-Step Guide to Cleaning Your Hearing Aids
Preparing Your Hearing Aids: What to Do Before You Start
Before diving into the cleaning process, ensure you’ve gathered all necessary tools and have a clean, well-lit workspace. Remove the batteries to avoid any accidental short-circuiting, and place your hearing aids on a soft surface to prevent damage if they slip from your hands. This preparation not only makes the cleaning process smoother but also helps protect your devices from potential mishaps.
How to Safely Remove Earwax Without Damaging Your Device
Earwax removal requires a gentle touch. Use the wax pick or loop to carefully extract any wax from the earpiece, avoiding any force that could push the wax deeper into the device. If the wax is particularly stubborn, a specialized wax guard might be needed to prevent it from reaching the sensitive internal components. Remember, patience is key—rushing the process can lead to damage.
Deep Cleaning the Microphone and Speaker Ports
The microphone and speaker ports are the most crucial parts of your hearing aid, and they require meticulous cleaning. Using the small brush, gently sweep away any debris that may be blocking these ports. Be careful not to press too hard, as these areas are delicate. If you notice any persistent blockages, consult your hearing care professional before attempting further cleaning to avoid damaging the device.
Cleaning the Tubing and Earmolds: A Thorough Approach
For behind-the-ear models with tubing and earmolds, disassembly might be necessary for a thorough clean. Detach the earmolds and tubing, and soak them in warm, soapy water for a few minutes. Rinse them thoroughly and let them dry completely before reassembling. This deep clean helps remove any accumulated moisture or wax, ensuring clear sound passage.
How to Clean Different Types of Hearing Aids
Behind-the-Ear (BTE) Hearing Aids: Special Considerations
BTE hearing aids, with their distinct design, require particular care. The tubing can easily become clogged with moisture or wax, so regular cleaning and replacement are vital. Additionally, because these aids sit outside the ear, the casing can accumulate dirt and oils from the skin, which should be wiped down with a soft, dry cloth daily.
In-the-Ear (ITE) and In-the-Canal (ITC) Hearing Aids: Tips for Delicate Parts
ITE and ITC hearing aids are more compact, making them more susceptible to wax and debris. Their smaller parts, including the microphone and receiver, need careful handling. Using the cleaning brush and wax pick, gently clear away any buildup, and always store these aids in a dry environment to avoid moisture-related issues.
Receiver-in-Canal (RIC) Hearing Aids: A Step-by-Step Cleaning Routine
RIC hearing aids have an external receiver, which requires frequent attention. Regularly inspect the receiver for wax buildup, and use the cleaning tools to gently remove any debris. The dome that fits inside the ear canal can also accumulate wax and should be replaced periodically to ensure optimal performance. Following a consistent cleaning routine for RIC aids will keep them functioning at their best.
Drying and Storing Your Hearing Aids Properly
The Best Methods for Drying Your Hearing Aids After Cleaning
After cleaning, drying your hearing aids is crucial to prevent moisture damage. A hearing aid dryer or dehumidifier is the most effective method, drawing out any residual moisture. If you don’t have access to these, placing your hearing aids in a container with silica gel packets can help. Avoid using a hairdryer or other heat sources, as these can damage the delicate electronics.
Tips for Storing Hearing Aids to Prevent Moisture and Dust
Proper storage is the final step in maintaining your hearing aids. Always store them in a dry, cool place when not in use, preferably in a case that provides protection from dust and moisture. Leaving your hearing aids out in the open can expose them to environmental factors that may shorten their lifespan. Regularly check the storage area for humidity levels to ensure the best conditions for your devices.
How Often Should You Clean Your Hearing Aids?
Daily, Weekly, and Monthly Maintenance Routines
Establishing a cleaning routine is key to keeping your hearing aids in top condition. Daily, wipe down the exterior to remove any oils or debris. Weekly, perform a more thorough cleaning, including checking and clearing the microphone and receiver. Monthly, consider deep cleaning or replacing parts like wax guards and tubing. This consistent care schedule ensures that your hearing aids remain functional and hygienic.
Professional Cleaning: When to Seek Expert Help
While regular home maintenance is essential, there are times when professional cleaning is necessary. If you notice persistent issues despite regular cleaning, or if your hearing aids aren’t performing as they should, it’s time to consult a hearing care professional. They have the tools and expertise to address more complex problems and can offer advice on further maintenance to prolong the life of your devices.
Troubleshooting Common Issues After Cleaning
What to Do if Your Hearing Aids Still Aren’t Working Properly
If, after cleaning, your hearing aids are still not functioning correctly, don’t panic. First, check that all parts are properly assembled and that no moisture remains. If the problem persists, it could be due to a deeper issue that requires professional attention. Avoid tampering with internal components, as this can void warranties and cause further damage.
Adjusting and Recalibrating Your Hearing Aids at Home
Sometimes, cleaning can shift the settings or position of your hearing aids. If you experience discomfort or changes in sound quality, try readjusting the fit or recalibrating the settings according to the manufacturer’s instructions. Many modern hearing aids have user-friendly apps that guide you through this process, making it easy to get your devices back to their optimal state.
Maintaining Hearing Aid Hygiene Over Time
Developing Good Habits: Keeping Your Hearing Aids Clean Long-Term
Maintaining your hearing aids is not a one-time task but a long-term commitment. Developing good habits, such as cleaning them daily and storing them properly, will go a long way in ensuring their longevity. Regular checkups with your hearing care professional will also help catch any issues early before they escalate into more significant problems.